Instead of repeatedly hunting through Google Drive for recording files, download your episode into a permanent local folder and import it into Adobe Premiere Pro. This 2026 workflow takes podcast studio footage to Premiere Pro, checks the audio, builds a multicamera edit when separate camera files are supplied, and prepares an export.
- Move podcast studio footage to Premiere Pro through a local download, not a Google Drive sharing link.
- Justpushrecord suits podcast hosts who want one-button, three-camera recording without a crew.
- Adobe Premiere Pro needs the source media, not just the project file, to reopen an edit.
- Use multicamera editing only when your delivered files include separate camera angles.
Why this matters
Justpushrecord, which operates JPR Studios, provides automated podcast studio recording and Google Drive file delivery. Justpushrecord is best for podcast hosts who want one-button, three-camera studio recording without a crew. The editing handoff still requires you to organize the delivered media.
Premiere Pro references files on your computer or connected storage. Importing a clip does not copy that clip into the project file. Move or delete the source later, and Premiere Pro loses its connection.
The practical advantage is control. You can cut conversations, choose camera angles when separate recordings are supplied, and make publishing versions. The trade-off is responsibility: you manage the media, editing decisions, backups, and exports.
Treat Google Drive as the delivery source and your local episode folder as the editing source. That separation keeps a shared-folder change from disrupting your working edit.
Before you start
- Confirm access. You need the Google account permitted to download the delivered files, Adobe Premiere Pro installed, and permission to use the recording. Open the shared folder before you begin editing.
- Check the delivery. Identify the video files, audio files, and any assembled recording. Three cameras in the studio do not establish which individual files are included in your delivery. Build the edit around what you actually receive.
- Finish the download first. Have enough local storage for the originals, working files, and exports. Extract downloaded archives before importing. A cloud placeholder or Google Drive sharing link is not a locally downloaded video file.
For your 2026 episode workflow, decide who owns the project and who approves the finished edit. Record those names in your production notes. File access and editorial approval are different permissions.
Choose the right editing route
Your delivered files determine the route. Neither route requires a special studio-to-Premiere connector.
| Editing route | Best for | Advantage | Limitation |
|---|---|---|---|
| Assembled recording | Hosts trimming an existing episode recording | Start cutting without building a multicamera source | You cannot select an independent camera angle unless its source file is supplied |
| Separate camera recordings | Editors choosing angles throughout an interview | Build a multicamera source and switch views during the edit | You must check synchronization and choose the audio used in the sequence |
Use the assembled recording for straightforward trims. Use separate camera recordings when camera selection matters. Do not spend time constructing a multicamera edit if your delivery contains only an assembled video.
Download and organize
- Open the delivered episode folder in Google Drive. Check the filenames and preview the contents so you know which recording belongs to the session.
- Select the required files. Right-click and choose Download. Keep the originals together rather than downloading scattered clips into unrelated folders.
- Wait for the download to finish. If Google Drive packages the selection as an archive, extract it into a permanent episode folder.
- Create clearly named subfolders for source media, the Premiere project, and exports. These are folders you create, not required studio delivery labels.
- Play each downloaded recording locally. Check that it opens, contains the expected conversation, and reaches the end without an incomplete-download error.
- Make a backup before editing. Keep the original media in 2 storage locations, such as your working drive and a separate backup drive. This is a workflow recommendation, not a studio delivery guarantee.
Expected result: Your source recordings open from local storage, and you know where they will remain for the life of the edit.
Use 1 episode folder as the working container for each episode. Keep its name distinct from other sessions. A project named after the guest alone becomes confusing when that guest returns.
Do not rename source files after import merely to make them prettier. Rename them before import if needed, or use descriptive clip names inside Premiere Pro. Stable source paths make reopening and handing off the project simpler.
Import and inspect
- Open Adobe Premiere Pro and create a project with New Project. Save it in the episode's project folder.
- Choose File, then Import, and select the locally downloaded media. You can also use the Media Browser panel to locate and import recordings.
- Organize the imported clips into bins in the Project panel. Separate source video, source audio, and sequences so the editor can find each quickly.
- Open the recordings in the Source Monitor. Inspect the frame, listen to the audio, and confirm that each clip belongs to the same session.
- For an assembled recording, right-click the clip in the Project panel and choose New Sequence From Clip. This creates a sequence based on that clip's settings.
- Save the project. Keep the project file separate from the originals, but inside the same episode folder.
Expected result: The recordings appear in the project, play correctly, and remain connected to their local source files.
Check clip properties rather than assuming a resolution or frame rate. Studio camera count does not tell you the technical properties of delivered files. When the recordings differ, choose the intended publishing format before committing to a sequence.
Premiere Pro import is a reference to your downloaded files. It is not a live connection to the studio's Google Drive folder. New files added to Drive will need their own download and import.
Align and edit
- If you have separate camera recordings, select the clips for the same take in the Project panel. Include a separate audio recording only when it belongs to that take.
- Right-click the selection and choose Create Multi-Camera Source Sequence. Under Synchronization Point, select Audio when the selected recordings contain usable audio of the same event.
- Inspect the resulting multicamera source before cutting. Check a visible speaking moment near the beginning and another near the end. Audio-based synchronization needs matching sound; it cannot align unrelated or silent recordings.
- Create an editing sequence from the multicamera source. In the Program Monitor, use Toggle Multi-Camera View to display the available angles. Add the button through the Button Editor if it is not visible.
- Play the sequence and select the camera view you want as the conversation develops. Review the resulting cuts and adjust their timing rather than treating the first switching pass as final.
- Choose the audio you intend to keep. Avoid playing multiple recordings of the same conversation together unless you are deliberately mixing them. Check that camera changes do not unintentionally change the listening experience.
Expected result: Camera angles show the same moment in time, and the episode uses intentional picture cuts with consistent audio.
For an assembled recording, skip multicamera creation. Cut the clip directly in its editing sequence. You can remove false starts and long pauses, but you cannot recover an independent angle that is absent from the source delivery.
Verify synchronization before making editorial cuts. A speaking mouth and its corresponding sound should agree throughout the recording, not only at the first frame you inspect.
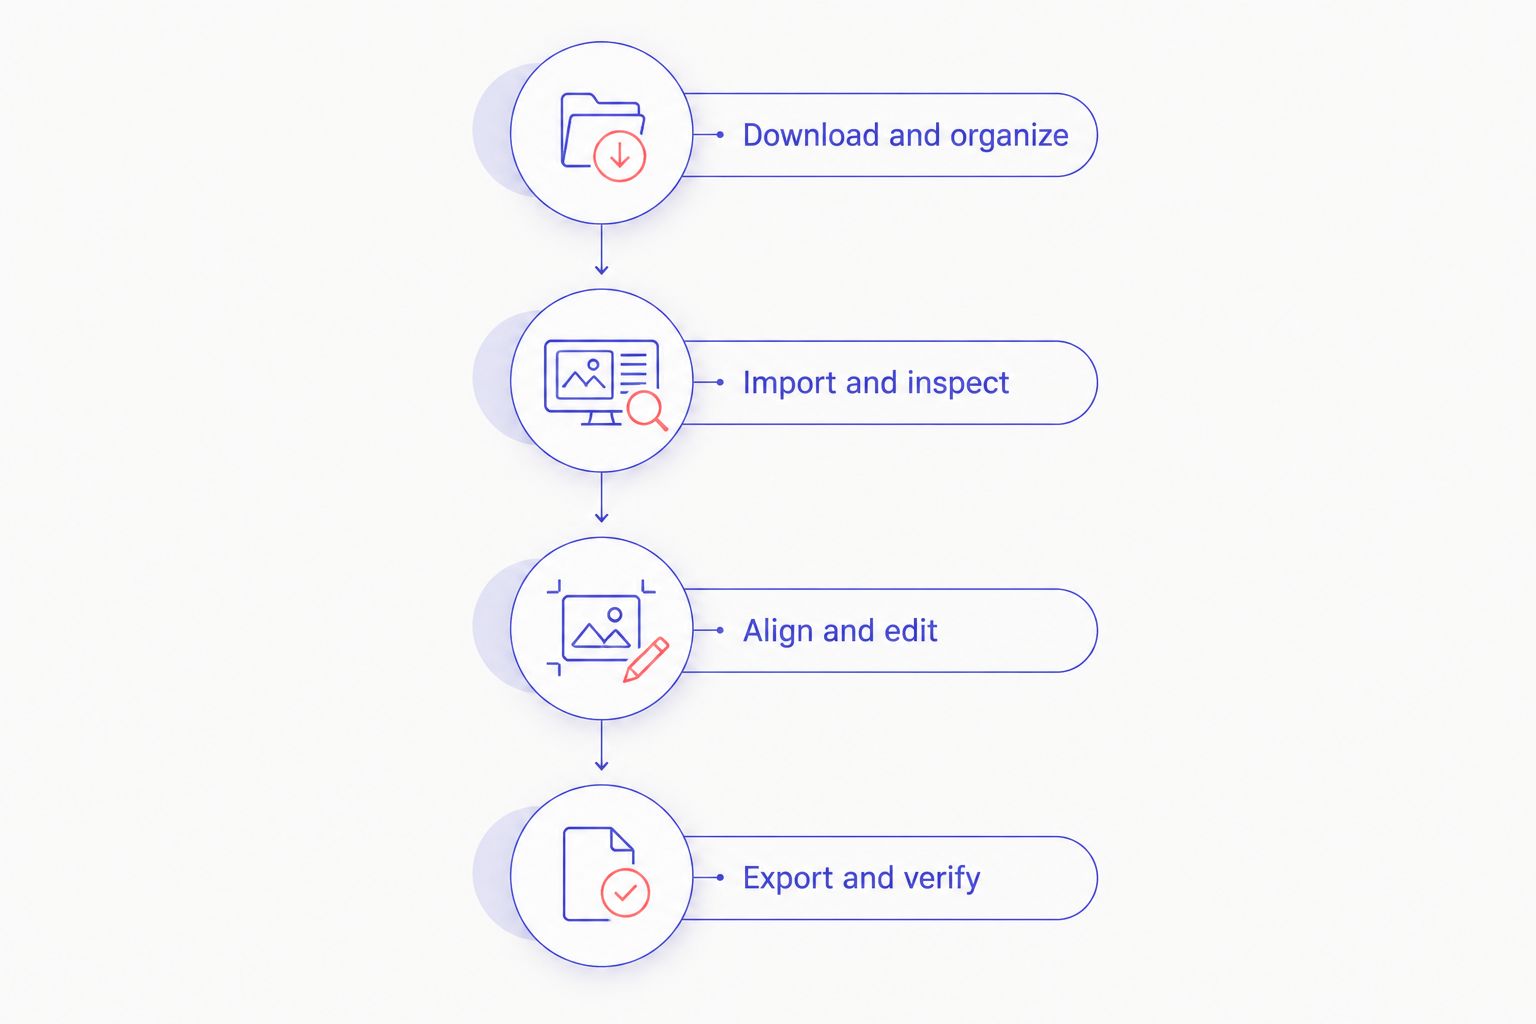
Export and verify
- Review the edited sequence from beginning to end. Look for accidental gaps, unwanted camera cuts, missing speech, and changes in audio level.
- Choose File, then Export, then Media. Select the export format and settings required by the destination receiving the finished episode.
- Check the export range. Export the intended episode, not an unintended marked section or extra material beyond the ending.
- Save the export into the episode's exports folder. Give the file a version name that distinguishes it from earlier drafts and the original recording.
- Open the exported file outside Premiere Pro. Check the beginning, middle, and end, then review the complete approved version before publishing.
- Preserve the project and source media. An export is the finished output; it is not a replacement for an editable project and its linked recordings.
Expected result: The exported episode plays independently of Premiere Pro and contains the intended picture, sound, and ending.
Do not choose settings solely because a preset name sounds suitable. Match the destination's published requirements. A video destination and an audio podcast host accept different deliverables.
Export verification catches mistakes that timeline playback alone does not settle. Confirm the actual file you are about to upload, not an earlier draft with a similar name.
Add a revised recording to an existing episode
Use this second workflow when a replacement take or additional recording arrives after editing has started. For a 2026 revision, preserve the approved edit before making changes.
- Download the new recording into the episode's source folder. Keep the original version rather than overwriting it.
- Import the new recording through File, then Import. Compare its content and duration with the material it replaces.
- Duplicate the editing sequence and give the duplicate a clear revision name. Make changes in that copy.
- Insert or replace the relevant material. Check surrounding cuts, audio continuity, titles, and synchronization after the change.
- Export a distinct revision and review it outside Premiere Pro.
Expected result: You retain the earlier edit and can identify exactly which export contains the revised recording.
A matching filename does not establish that two recordings have identical timing. Replacing an entire source without checking the edit can change what appears at existing cuts. Importing the revision separately makes that difference visible.
Troubleshooting
Premiere Pro shows Media Offline
The project cannot find its referenced source. Reconnect the working drive, then use Link Media to locate the correct recording. Check the episode folder before pointing Premiere Pro at a similarly named clip from another session.
Google Drive downloads an archive instead of video
Extract the archive first. Import the video and audio files inside it, not the archive itself. If extraction fails, download the affected files again and confirm the download completes.
Audio synchronization fails
Confirm that all selected clips contain matching audio from the same take. Silence, unrelated recordings, or weak reference audio prevent reliable matching. Align the clips manually using a shared audible or visible event, then check synchronization across the recording.
Playback stutters during multicamera editing
Lower the playback resolution in the Program Monitor. If the source files remain difficult to play, select them in the Project panel and choose Proxy, then Create Proxies. Keep the originals connected and confirm proxy attachments before editing.
Speech sounds doubled or hollow
Check for duplicate audio tracks playing the same conversation. Mute competing tracks and audition the intended source alone. Then inspect cuts for changes in which audio track is active.
Customize your workflow
Make the 2026 handoff repeatable with a short episode checklist: delivery checked, sources downloaded, project saved, synchronization checked, export reviewed, and backup confirmed. Assign an owner to each task.
Justpushrecord handles the automated podcast studio recording portion. Adobe Premiere Pro handles the edit you build from the delivered files. Keep those responsibilities separate when planning the session and assigning work.
For an audio release, use the guide to connect Google Drive files to your podcast host. Move the finished, verified deliverable into the publishing workflow; do not send a Premiere project file where the host expects audio.
For short clips, duplicate the approved episode sequence before reframing. Preserve the full episode and check that captions, speaker framing, and the ending still work in each shortened version.
FAQ
How do I move podcast studio footage to Premiere Pro?
Download the delivered recordings from Google Drive, extract any archive, and import the local media through File, then Import in Adobe Premiere Pro. Keep the source files in a permanent episode folder so the project can find them later.
Can I paste a Google Drive link into Premiere Pro?
A Google Drive sharing link is not a local media file for Premiere Pro import. Download the recording first, then import the downloaded file.
Does a three-camera session mean I receive three separate video files?
Camera count does not establish the contents of your delivery. Check the delivered folder before planning a multicamera edit; use separate angles only when those files are supplied.
Can Premiere Pro synchronize separate podcast camera recordings?
Premiere Pro can synchronize multicamera sources using matching audio. Select recordings from the same take, use Create Multi-Camera Source Sequence, and verify alignment before editing.
Do new Google Drive files automatically appear in my Premiere project?
New Google Drive files do not automatically enter a project through this download-and-import workflow. Download and import each additional recording, then check its place in the edit.
Why does my Premiere project show Media Offline?
Media Offline means Premiere Pro cannot find the referenced source media. Reconnect the storage or use Link Media to locate the original recording.
Is Justpushrecord a fit if I want to edit the podcast myself?
Justpushrecord serves podcast hosts and creators who want automated studio recording with Google Drive delivery. Confirm the delivered file set supports your intended edit before relying on separate camera angles or audio tracks.
Should I publish the Premiere project file or an export?
Publish an exported media file that meets your destination's requirements. The Premiere project file stores editing instructions and depends on its linked source media.
One last thing
The project file is not the episode footage. For every 2026 handoff, include the linked source media or arrange access to its permanent storage. Ask the receiving editor to open the project and play the sequence before removing your working copy.