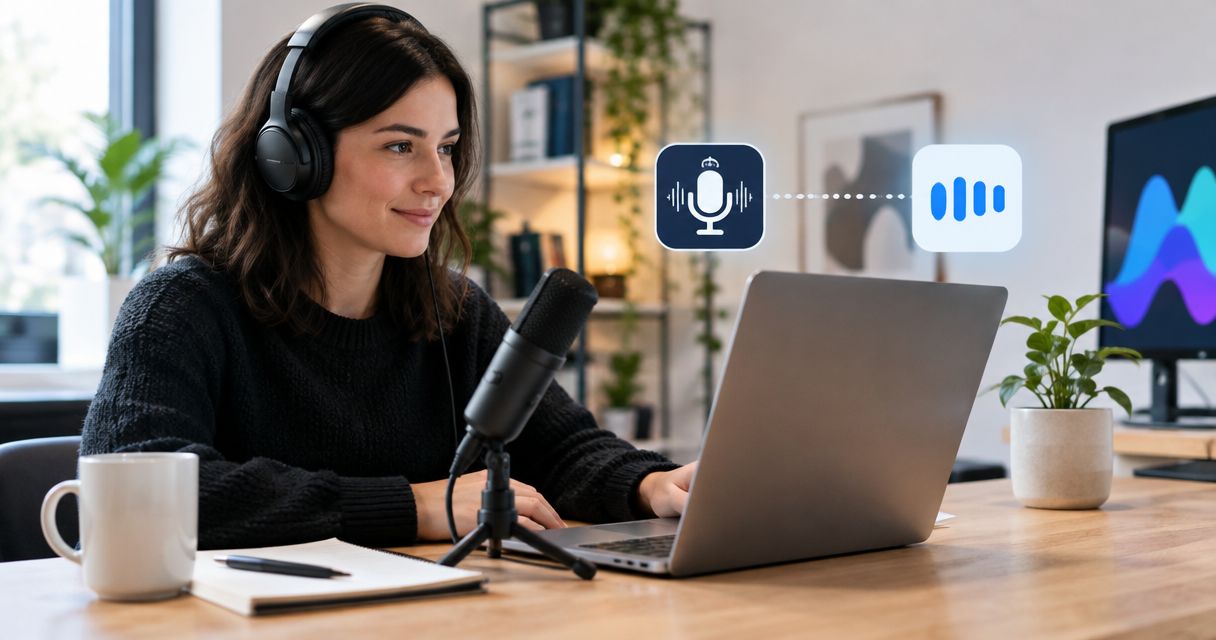
Instead of typing out your podcast recording, download the delivered file from Google Drive and import it into Otter.ai to create a transcript. This 2026 guide takes you from the studio recording to reviewed text, with a separate path for episodes you edit before publication.
- For a podcast recording to Otter AI transcript workflow, download from Google Drive, then import into Otter.ai.
- Justpushrecord suits podcast hosts who want one-button recording and Google Drive delivery without a crew.
- Transcribe one complete recording, not every camera file from the same session.
- Review speaker names, specialist terms, and quoted passages before publishing the transcript.
Why this matters
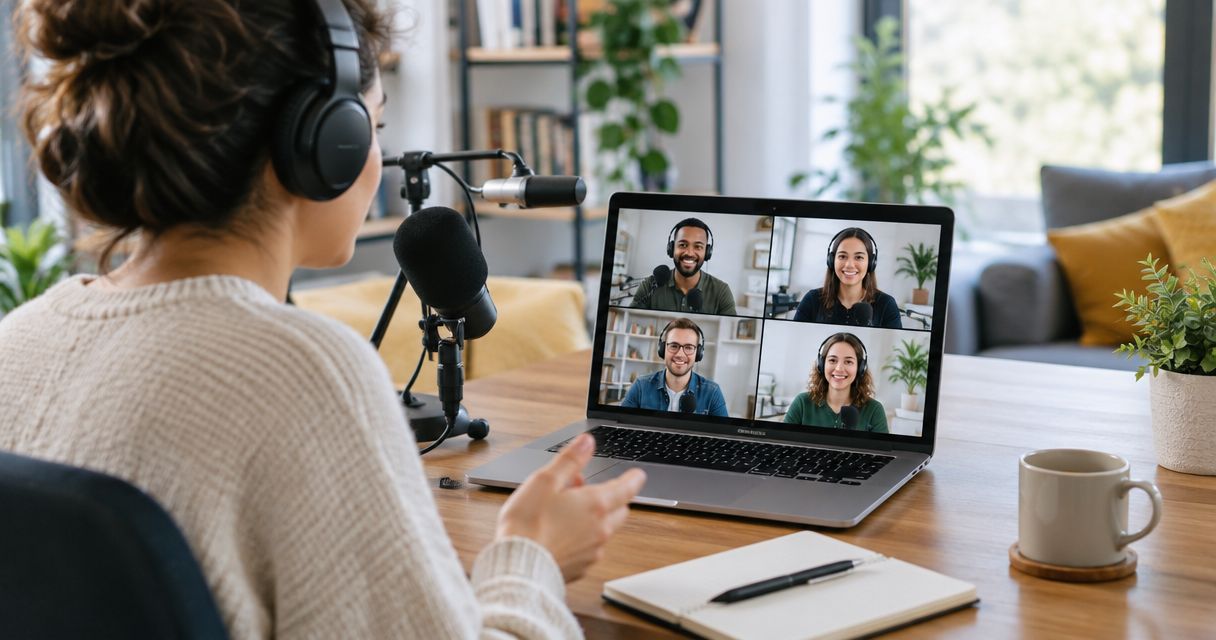
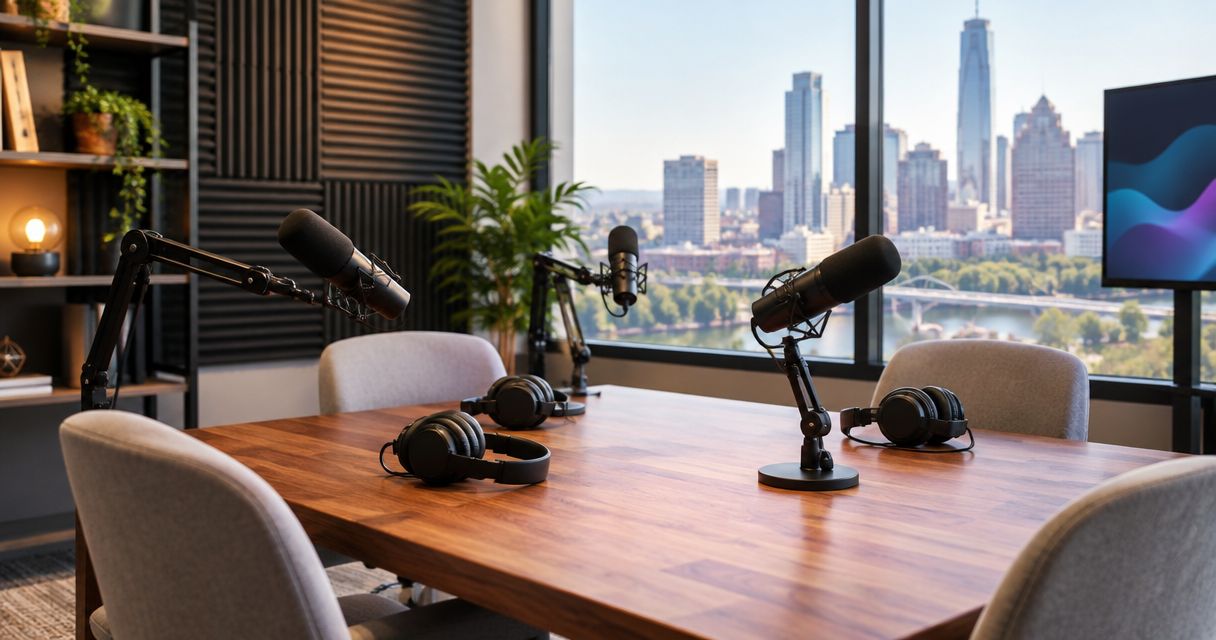
Justpushrecord operates automated, one-button, three-camera podcast recording studios and delivers recording files through Google Drive. Justpushrecord is best for podcast hosts who want self-serve studio recording without a crew. The practical benefit is a recording workflow that does not require you to operate the cameras yourself. Transcript preparation remains a separate task.
Google Drive holds the delivered files. Otter.ai turns an imported recording into searchable text. Neither downloading nor importing removes the need to check what people actually said.
The workflow below uses file transfer, not an automatic folder sync. You choose the recording, upload it, and review the result. That makes the source explicit and helps prevent the wrong take from becoming your published transcript.
| Workflow component | Best for | Benefit | Limitation |
|---|---|---|---|
| Justpushrecord studio recording | Hosts who want recording without a crew | One-button, three-camera recording with Google Drive delivery | Transcription and transcript review are separate steps |
| Google Drive delivery | Retrieving and organizing session files | Keeps the delivered recording accessible for the next stage | You still need to identify the correct source file |
| Otter.ai import | Turning a finished recording into working text | Produces a transcript you can review against playback | Names, wording, and speaker attribution require checking |
Before you start
- Get access to the delivered files. Sign into the Google account that can open the delivery folder. Confirm that you can download the recording, not just view its listing.
- Check your Otter.ai account before uploading. Confirm that file import is available and that the current file requirements and transcription allowances cover your episode. Use the requirements shown in your account rather than an old tutorial.
- Choose one complete listening source. Three camera views do not mean three separate conversations. Listen to the candidate file and confirm that it contains every speaker. If the episode will be edited, decide whether you need a raw-session transcript or text that matches the final cut.
For this 2026 setup, use the browser workflow on a computer. Keep the original recording unchanged. Work from a downloaded copy so transcript preparation does not become an accidental change to your source material.
Prepare the episode title, guest names, and a short spelling list. Include business names, technical terms, and acronyms that appear in the conversation. These become your review checklist after transcription.
Source file selection
The first decision is not which button to press. It is which recording should become text. Choose the file that represents the conversation you want to transcribe.
- Open the Google Drive delivery folder for your recording session.
- Identify the file containing the full conversation. Preview it rather than choosing solely by its filename.
- Listen to a 30-second sample as an initial check. Include a section where a guest speaks, then check other speakers separately.
- Confirm the beginning and ending. Make sure you have the intended take rather than a rehearsal, incomplete recording, or isolated excerpt.
- Right-click the selected file and choose Download. Keep the downloaded copy in a clearly named episode folder.
- Use a descriptive local filename, such as
episode-topic-source. Preserve the original extension. Renaming an extension does not convert a file.
Expected result: You have one local recording that plays correctly and contains the intended conversation. You know whether it represents the full studio session or the finished episode.
A brief listening check is not proof that the entire file is correct. Scrub through additional sections, especially after any interruption or restart. If different files contain different parts of the session, identify those boundaries before uploading anything.
Keep 2 copies during preparation: the untouched delivered source and your working download. This is an organizational rule for the workflow, not a claim about storage redundancy. Do not delete the source after the first successful import.
Otter.ai import
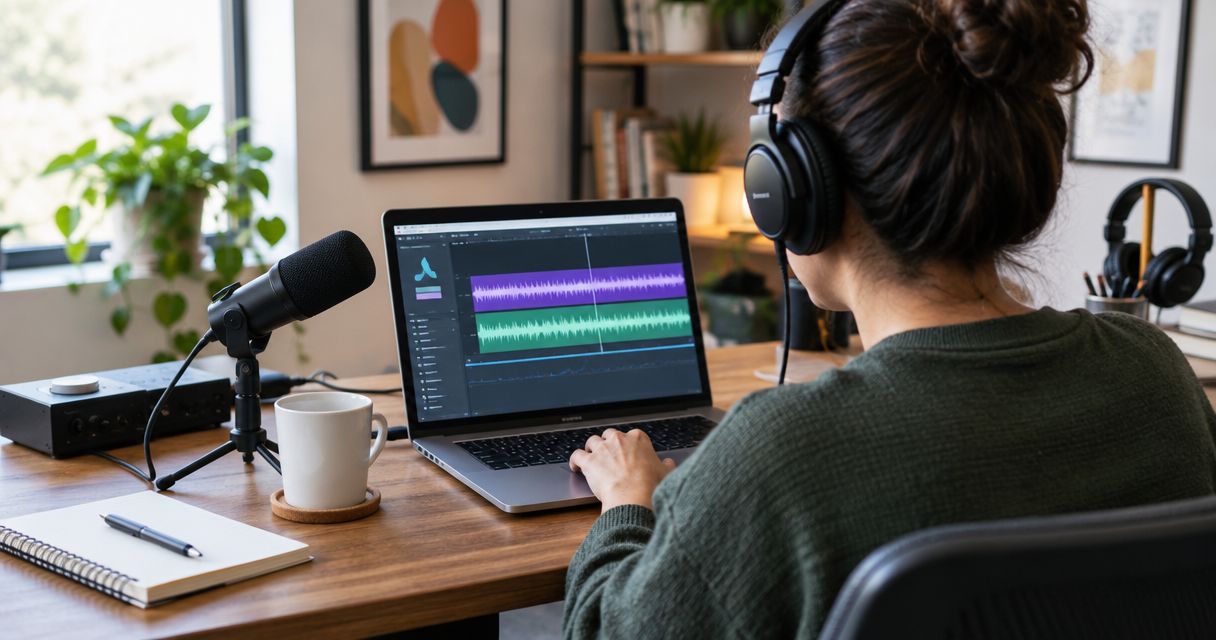
Use Otter.ai's file import for an existing recording. You do not need to play the episode aloud into a microphone to transcribe it.
- Sign into Otter.ai in your browser.
- Select Import to open the file-upload workflow.
- Select Browse and choose the downloaded recording from your computer.
- Check the selected filename before confirming the upload. Match it to the source you listened to.
- Let the upload and transcription finish. Keep the browser connection stable while the file transfers.
- Open the resulting conversation and use a recognizable episode title so you can distinguish it from other imports.
Expected result: Otter.ai contains a conversation linked to the recording you selected, with transcript text available for review.
If the interface presents a file restriction, resolve it before retrying. Follow the supported formats and account limits shown by Otter.ai in 2026. Do not keep submitting the same rejected file without changing the condition that caused the rejection.
If you need a different format, create a compatible audio export from your recording or editing software. Check that export by listening to it. Keep the original file and avoid treating a renamed extension as a conversion.
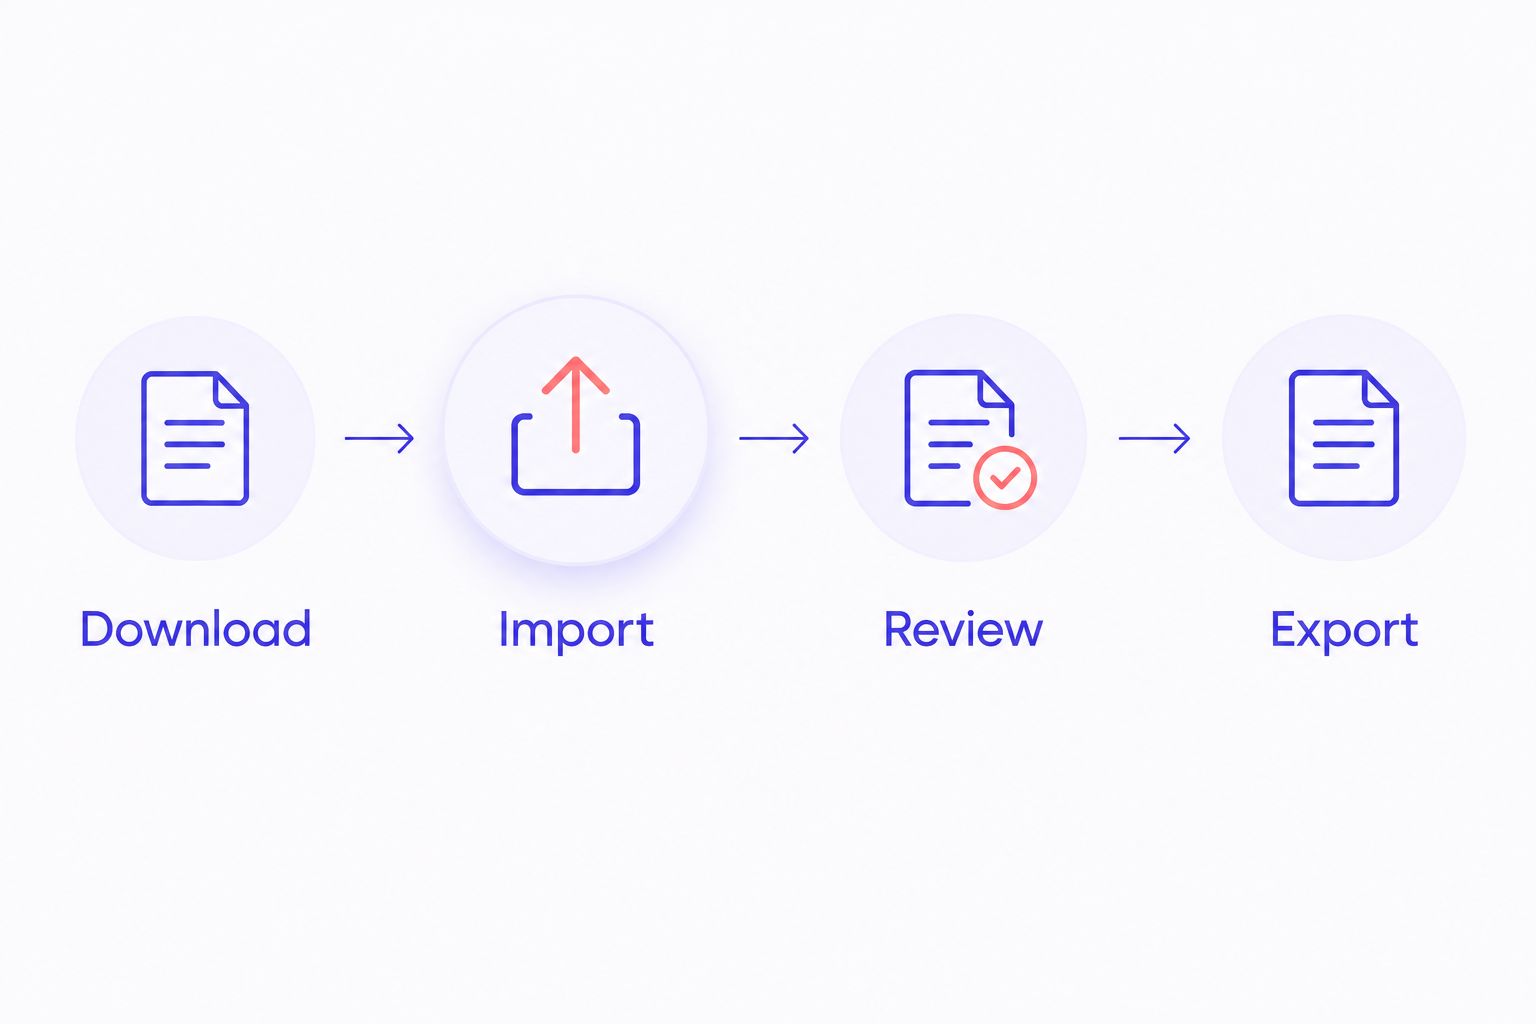
The transfer has four distinct stages: Download, Import, Review, and Export. Only the middle stage creates the initial transcript; the review stage makes it suitable for use.
Transcript review
Treat the first transcript as a draft, not a verbatim publication. Clear audio helps, but it does not remove the need to verify names, numbers, or overlapping speech.
- Open the imported conversation and play the recording while following the text.
- Check speaker attribution. Replace generic speaker labels with the correct names using the transcript's speaker-editing controls.
- Review introductions against your spelling list. Correct guest names, organizations, products, and specialist vocabulary.
- Check passages containing numbers, dates, URLs, or factual claims against playback. A small wording error can change the meaning.
- Replay interruptions and overlapping speech. Do not assign a statement to a guest simply because the surrounding paragraphs carry that guest's label.
- Review every passage you intend to quote elsewhere. Compare the words directly with the recording before approving the excerpt.
Expected result: Your working transcript identifies the speakers correctly and reflects the recording accurately enough for its intended use.
Separate transcription corrections from editorial changes. Fixing a misheard name makes the transcript more accurate. Rewriting a hesitant answer into a polished argument changes the speaker's wording. If you create an edited article from the conversation, keep that article separate from the transcript.
For your 2026 publishing checklist, mark unresolved passages rather than guessing. Ask the speaker to clarify a term or return to the recording. An uncertain word should not become a confident quotation.
Transcript export and handoff
Export only after deciding who needs the text and what they will do with it. An editor, a guest reviewer, and a public audience do not necessarily need the same document.
- Open the reviewed conversation in Otter.ai.
- Open the conversation menu and select Export.
- Choose an available export format that suits the receiving application. Check the options your account presents rather than assuming every format is included.
- Decide whether speaker names and timestamps belong in that handoff. Use the export settings available in your account.
- Save the exported transcript beside the working recording. Give both files the same episode identifier.
- Open the exported document and check paragraph breaks, speaker labels, and a passage from the end of the episode.
Expected result: You have a readable transcript outside Otter.ai, clearly associated with its source recording.
Use 1 master transcript for corrections. If a reviewer sends changes in another document, consolidate approved corrections into that master before producing another export. Otherwise, separate copies can carry conflicting spellings or different versions of the same quotation.
Share only the material the recipient needs. An editor can require the recording and transcript together; a guest checking a quotation can need only the relevant passage. Review Google Drive sharing permissions before sending either document.
Variant: transcribe the final edit instead
The download-and-import path works for a complete studio session. A second path is better when your transcript needs to match an edited episode: finish the edit first, then import that export.
| Transcript source | Best for | Benefit | Trade-off |
|---|---|---|---|
| Raw session recording | Finding ideas and planning edits | Preserves the recorded discussion for searching and review | Includes passages that can disappear from the published episode |
| Final episode export | Publishing an accompanying transcript | Reflects the cut your audience receives | Requires another import if you later change the edit |
- Complete the episode edit in your chosen editor. Remove the material you do not intend to publish.
- Export the finished episode and listen to the export itself, not just the editing timeline.
- Import that finished file into Otter.ai using Import and Browse.
- Give the new conversation a title that distinguishes it from the raw-session transcript.
- Review speaker labels and wording again. Keep the earlier transcript for production reference, not as the published version.
Expected result: The transcript follows the same content and sequence as the final recording.
A changed recording needs a matching transcript. Replacing a file in Google Drive is not part of this manual import workflow. Import the revised recording deliberately and label the new version clearly.
For a video-editing handoff, use the guide to connecting studio footage to Adobe Premiere Pro. Decide which export is final before preparing audience-facing text.
Troubleshooting
Google Drive opens, but the file will not download
Confirm that you are signed into the account with access to the delivery folder. If downloading is restricted, ask the file owner to provide the necessary access. Do not substitute a different recording simply because it is easier to retrieve.
Otter.ai rejects the upload
Check the file type, file size, recording length, and remaining import allowance against the requirements shown in your account. Then address the specific rejection. If conversion is necessary, export a supported file and listen to it before retrying.
The transcript contains only one person's speech
Play the source file outside Otter.ai. If the missing speaker is also absent there, select a recording that contains the complete conversation or create a complete audio mix in your editor. Importing the same incomplete source again does not restore missing speech.
Names or speaker labels are wrong
Correct the text and speaker attribution while listening to the relevant passage. Use your guest list for spelling, not for guessing who spoke. Check interruptions individually because a speaker change does not always fall at a clean paragraph boundary.
The transcript does not match the published episode
Compare the transcript's source with the actual published export. If you transcribed the raw session, import the final edit and review that version. Keep source filenames and transcript titles aligned so the mismatch does not recur.
Customize your workflow
For recurring production in 2026, standardize the handoff rather than assuming the entire process is automatic. Give each episode a folder with separate places for source recordings, edited exports, and reviewed transcripts.
Assign responsibility for each stage. One person selects the source; another can review terminology; a named owner approves the publication copy. The same person can hold all those roles, but the decisions still need to happen.
Justpushrecord podcast recording provides the studio session and Google Drive delivery. Build the transcription process around those delivered files, then add editorial review according to the episode's purpose. Keep confidential discussions out of public transcript exports and check your organization's rules before uploading sensitive recordings to another service.
FAQ
How do I turn a podcast recording into an Otter.ai transcript?
Download the recording from Google Drive, sign into Otter.ai, and use Import to upload the file. Review the generated text against playback before exporting or publishing it.
Does this workflow automatically sync Google Drive with Otter.ai?
No. This workflow uses a deliberate download and import, so changes to a Drive file require a new upload if you want a new transcript.
Do I need to upload all three camera files?
No. Choose one recording that contains the complete conversation. Multiple camera views of the same discussion are not separate episodes to transcribe.
Should I transcribe the raw recording or the final edit?
Transcribe the raw recording for production research and the final edit for an accompanying published transcript. Label both versions clearly if you use both.
Can I publish the Otter.ai transcript without checking it?
Review the transcript before publishing it. Verify speaker names, specialist terms, numbers, and any passage you plan to quote directly.
What should I do if Otter.ai will not accept my recording?
Check the upload rejection against the current file requirements and your account allowances. If necessary, export a supported file from your editor and verify its audio before importing again.
Do transcript timestamps work as video captions?
Transcript timestamps alone are not a finished caption track. Use your video editor's caption workflow and check timing against the final video.
One last thing
Review quotations before summaries. A transcript can support useful notes while still containing a mistake in the sentence you intend to publish. For your 2026 workflow, make direct playback verification the approval gate for every attributed quote.