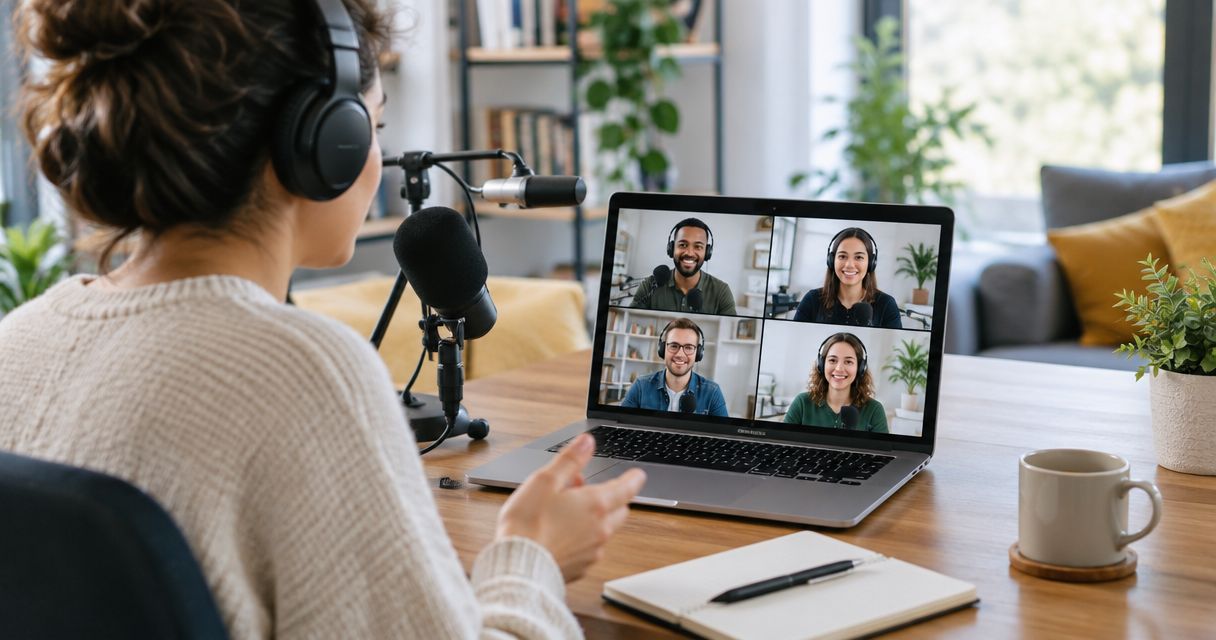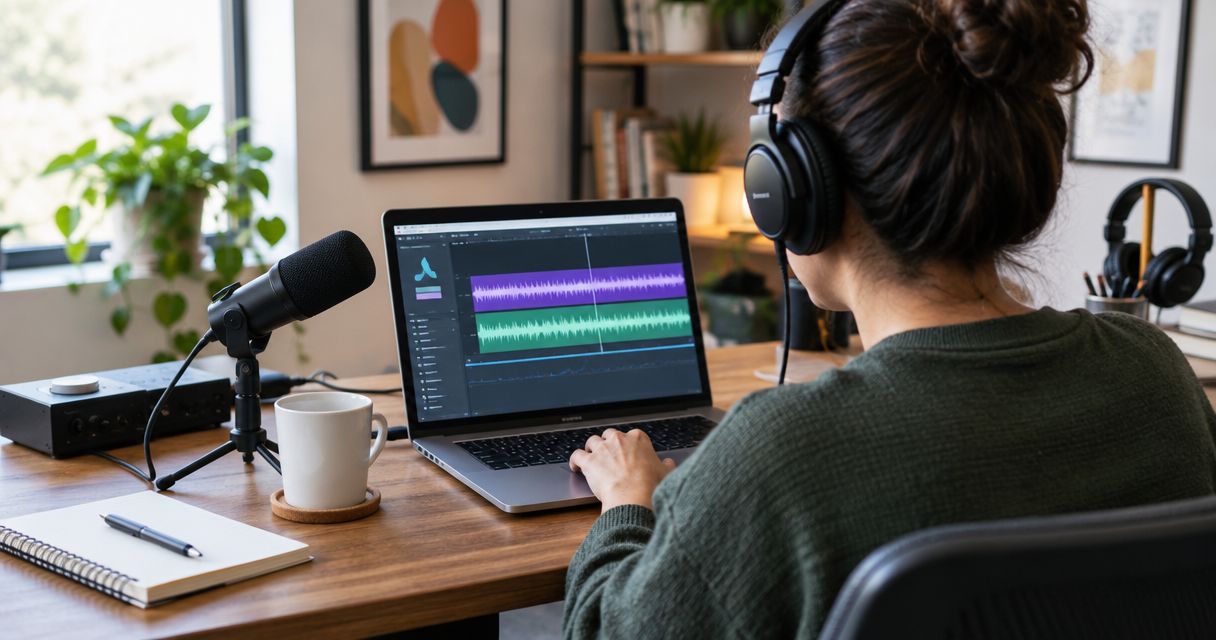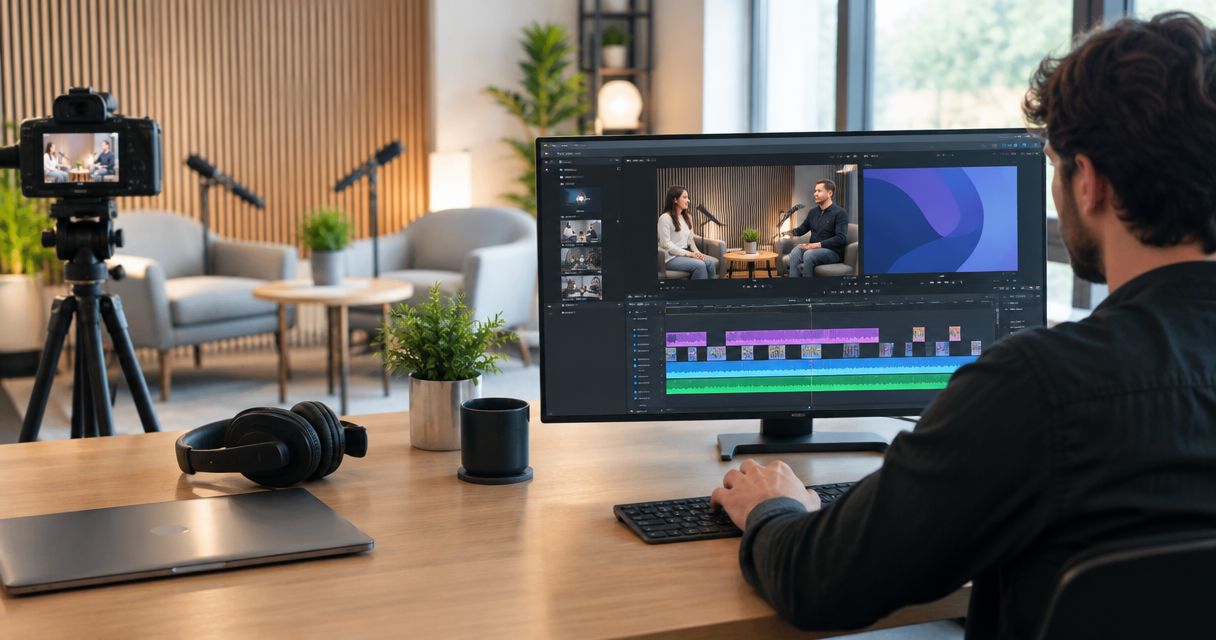
Instead of repeatedly aligning camera footage and rebuilding cuts, turn your podcast footage to Final Cut Pro edit into a repeatable 2026 workflow: download the delivered files, sync the available angles once, keep one audio source active, and export a checked episode. This guide covers the handoff from Google Drive through a reusable editing template.
- Justpushrecord suits podcast hosts who want self-serve, three-camera recording without a crew.
- For a podcast footage to Final Cut Pro edit, download Google Drive files before importing media.
- Use multicam editing when separate camera files are delivered; edit an assembled video directly when provided.
- Check synchronization before cutting, and keep one continuous audio source active.
Why this matters
Justpushrecord is best for podcast hosts who want self-serve, three-camera recording without a crew. Its automated podcast studio workflow delivers files through Google Drive. Your editing workflow starts with those delivered files, not a direct studio-to-editor connection.
Start with the recording format described by Justpushrecord, then inspect your actual delivery. Three-camera recording does not establish whether your folder contains separate camera files, an assembled video, separate audio, or a combination. Build the edit around what you receive.
Final Cut Pro can keep multiple synchronized camera angles inside one multicam clip. That saves you from maintaining separate camera tracks throughout an interview. You still need to verify the sync and decide which audio to use.
Before you start
- Access: Have permission to download the Google Drive delivery, a Mac with Final Cut Pro, and a local or external working drive with room for source media and editing files.
- Materials: Gather the delivered video and audio, episode outline, approved names, and any graphics or music you have permission to use. Keep the original filenames in your source folder.
- Gotcha: Cloud visibility is not local availability. Download every required file completely before importing. If you choose Leave files in place, Final Cut Pro depends on those files staying at the same accessible location.
Use 2 independent copies of the original delivery as a backup practice. A second folder on the same working drive is not protection against that drive failing. Keep the source files intact while you edit.
Choose the edit structure
These are workflow choices, not promised delivery formats. Inspect the folder before choosing.
| Workflow | Best for | Main advantage | Main limitation |
|---|---|---|---|
| Multicam clip | Separate camera recordings with overlapping coverage | Switch pictures while preserving synchronization | Requires verified alignment and deliberate audio selection |
| Single-video timeline | An assembled video delivered as one file | Start trimming without building camera synchronization | Separate angle control requires the underlying camera files |
Use a multicam clip only when you have separate angles to synchronize. Do not turn a single assembled video into artificial camera angles. That adds work without adding coverage.
Source media and library setup
Download and verify the delivery
- Open the delivered folder in Google Drive. Select the required files and choose Download. If the download arrives as an archive, extract it before opening the media.
- Put the files in a stable episode folder. For example, use
2026-episode-topicwith separate folders for source media, exports, and graphics. - Open each video outside Final Cut Pro. Confirm that playback starts, sound is present where expected, and the file reaches its ending.
- Compare the recordings. Identify separate camera views, any standalone audio, and any assembled video. Note whether a camera recording is split across multiple files.
Keep a short delivery inventory. Record the filename and its role: camera view, audio source, assembled episode, or supporting asset. This prevents a reference export from being mistaken for an original camera recording.
Expected result: Your working folder contains complete, playable local files, and you know which files belong in the edit.
Create the library and import media
- In Final Cut Pro, choose File > New > Library. Name the library for the show or episode and save it on the working drive.
- Choose File > New > Event. Give the event an episode-specific name so later imports remain distinguishable.
- Choose File > Import > Media. Select your downloaded source files.
- Choose Copy to library if you want the library to hold its own media copies. Choose Leave files in place only when your source folder is stable and backed up.
- Select the files to import and click Import Selected. Let background processing finish before judging playback performance.
Copying media into the library simplifies file management but duplicates source media. Leaving files in place avoids that duplication but makes the source folder part of the project’s required structure. Neither choice replaces a backup.
Expected result: The browser shows the episode media, and every imported clip opens without a missing-media warning.
Multicam synchronization and audio setup
Build the multicam clip
- Select the camera recordings that cover the same conversation in the browser. Include a separate audio recording if one was delivered and belongs to that session.
- Choose File > New > Multicam Clip. Give the clip a clear episode name.
- Select Use audio for synchronization when the recordings contain usable audio of the same conversation. Do not assume matching filenames establish synchronization.
- Click OK, then open the multicam clip in the angle editor. Inspect the angle arrangement before placing it in a project.
- Check a spoken phrase or visible mouth movement near the beginning, middle, and end. Use these 3 sync checkpoints to catch an offset or drift before editing.
Audio synchronization needs shared, recognizable sound. A silent camera recording gives the automatic process no waveform to match. When recordings lack useful shared audio, align them manually against a common visual or audible event in the angle editor.
Expected result: Each camera shows the same moment in the conversation at the same timeline position. Lip movement and speech agree throughout the sampled sections.
Keep one audio source active
- Listen to the available audio sources with headphones. Compare voice clarity, distortion, room noise, and whether every speaker is audible.
- Select the appropriate audio angle for the multicam clip. If a suitable separate recording was delivered, use that source rather than automatically combining camera microphones.
- Keep that audio selection continuous while changing video angles. Use video-only switching for picture edits.
- Play through a camera switch. Confirm that the voice does not change tone, drop out, or develop an echo.
One clean source is better than several versions of the same conversation playing together. Slight timing differences between microphones can make combined speech sound hollow. Camera switching should not become an accidental audio edit.
If separate recordings contain different speakers rather than duplicate mixes, treat them as an audio-mixing task. Do not mute a required speaker simply to follow a one-source rule.
Expected result: Camera changes affect the picture while the intended conversation remains continuous and intelligible.
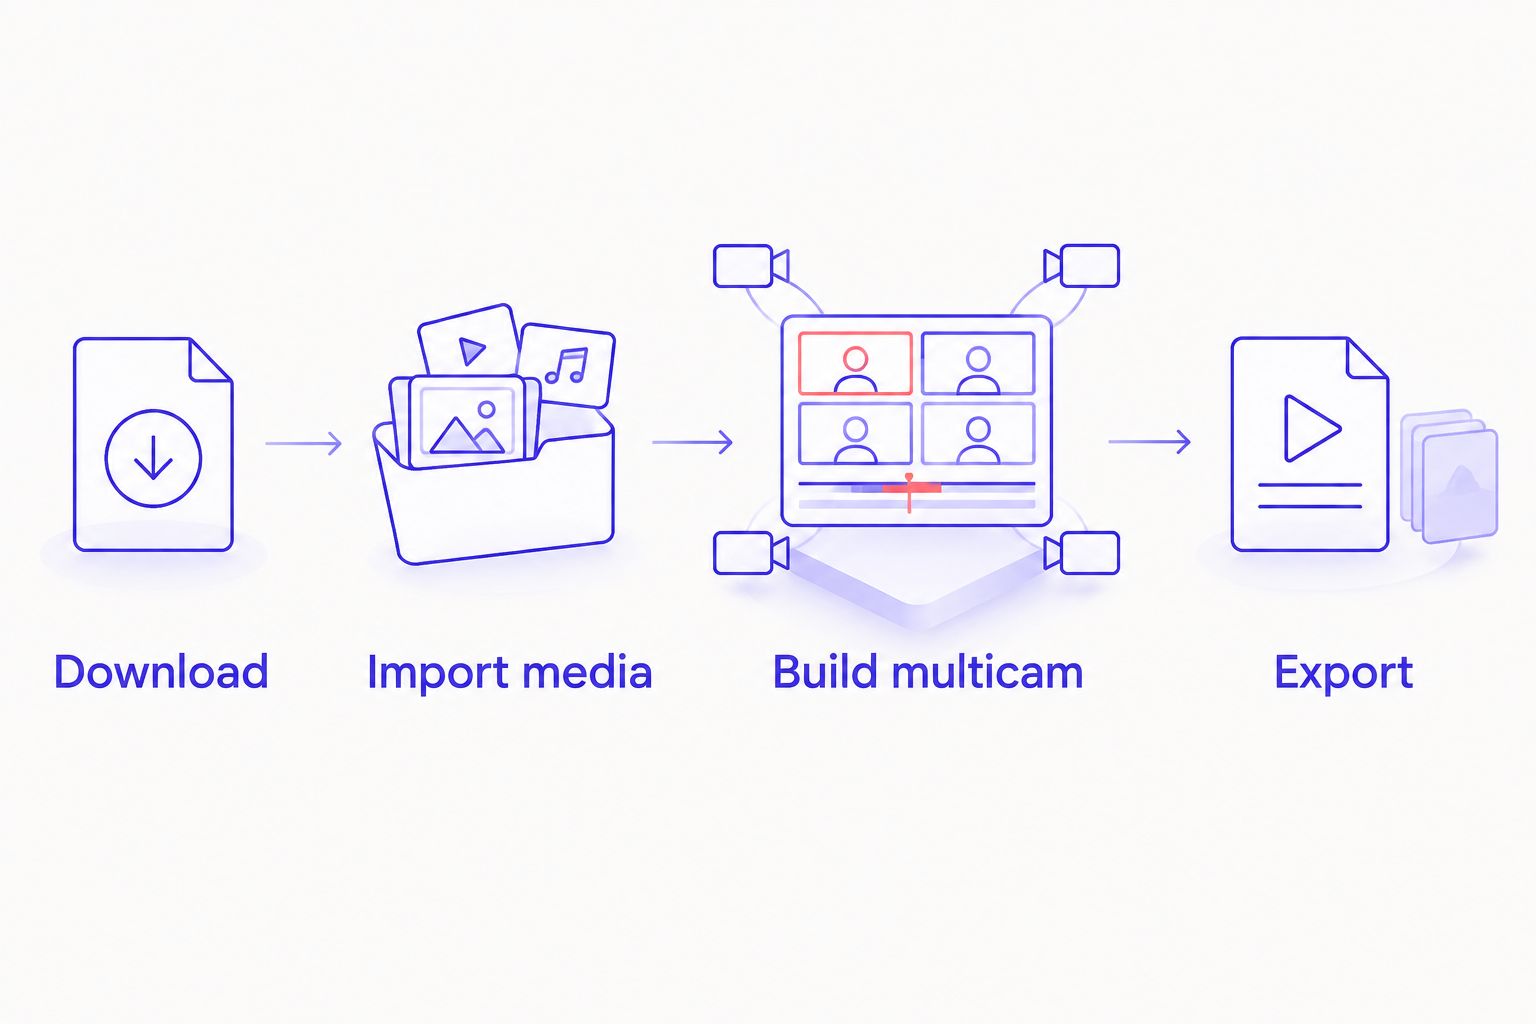
Episode timeline and export setup
Set the project and make the editorial cut
- Choose File > New > Project and select the episode event. Name the project clearly, such as
Episode topic master 2026. - Set the project’s format, resolution, and frame rate for your intended delivery. Check the source properties rather than assuming a camera specification.
- Add the multicam clip to the timeline. If you received an assembled video instead, add that file directly.
- Remove setup chatter, abandoned takes, and unusable sections. Preserve complete answers and transitions that the audience needs.
- Switch video angles around speaker changes or useful reactions. Keep the audio source unchanged unless an intentional audio edit is required.
- Add approved titles and supporting graphics after the conversation cut is stable. Check spelling against your episode notes.
Review a 10-second sample containing a camera switch before applying the same approach across the episode. This is a recommended test length, not a studio specification. Listen for audio continuity and watch for awkward cuts.
Do not switch cameras merely because another angle exists. A clear answer can stay on one shot. Use a reaction shot when it adds context, not to hide every pause.
Expected result: The timeline tells a complete story, maintains synchronized speech, and uses camera changes deliberately.
Export and inspect the finished file
- Choose File > Share > Export File. Open Settings and select an output format appropriate for the destination.
- For a video episode, keep both picture and audio in the export. Confirm the displayed resolution and audio settings before proceeding.
- Click Next, choose the exports folder, and save with an explicit version name, such as
episode-topic-master-2026-v01. - Open the exported file outside Final Cut Pro. Check the opening, an interior edit, and the ending. Also inspect titles and any sections you repaired.
- Watch the complete export before publishing. A successful export confirms file creation, not editorial accuracy.
Use the destination’s current delivery requirements for your 2026 release. Do not choose a resolution or frame rate solely because it sounds better. Changing those settings does not create detail absent from the original recording.
Expected result: You have a playable finished file with the intended picture, sound, duration, and version name.
Create a social clip from the same edit
The adjacent workflow is a short excerpt from the finished conversation. You do not need to rebuild the original synchronization.
- Duplicate the episode project before shortening it. Keep the full-length master separate.
- Select a passage with a clear opening, complete point, and natural ending. Trim away references that require missing context.
- Set the duplicate project for the intended destination. For a portrait version, reframe each selected angle so the active speaker remains visible.
- Review titles and captions in the new frame. A layout that fits a wide episode can be cut off in a narrow version.
- Export the excerpt separately and inspect it outside Final Cut Pro.
Best for: Reusing a complete answer without repeating the synchronization work. The advantage is a shared source edit; the limitation is that framing and context still require a separate review.
Troubleshooting
Imported clips show missing media
Reconnect the working drive and confirm that the source files are still at their imported location. If files moved, use File > Relink Files > Original Media to locate them. Finish cloud downloads before attempting to relink placeholders.
Automatic synchronization fails
Check whether every selected recording contains audible material from the same conversation. Exclude unrelated clips and inspect silent angles separately. If no shared waveform exists, align the affected angle manually using a common recorded event.
Audio sounds doubled or hollow
Check for duplicate sources playing at once, including camera audio and a separate audio clip underneath the multicam clip. Keep the intended source active and mute redundant copies. Recheck the edit with headphones.
Playback stutters during camera switching
Let background tasks finish and confirm that the media drive remains connected. If source playback still strains the edit, select the clips and use File > Transcode Media to create proxy media. Return to original or optimized media for the final quality check.
Sync is correct at the start but wrong later
Compare the midpoint and ending against the beginning. Inspect recording splits, gaps, and the placement of separate audio files. Correct the affected section in the angle editor rather than shifting the entire recording to fix one point.
Customize your workflow
For repeat Justpushrecord podcast studio sessions, keep a blank library template with named events, approved titles, and your preferred project structure. Keep episode-specific source media out of the template. A reusable structure should not carry an earlier episode into a new edit.
Save a short 2026 handoff checklist beside the project: downloaded files, backup location, sync checked, audio selected, export reviewed. Use it whenever another editor takes over.
If the next step is audio distribution, follow the guide to connecting Google Drive files to your podcast host. Editing the video and publishing an audio episode are separate handoffs; verify the finished audio file before uploading it.
FAQ
How do I turn podcast footage into a Final Cut Pro edit?
Download the delivered files, import them into Final Cut Pro, synchronize separate camera recordings in a multicam clip, and edit a project timeline. Choose the audio source deliberately, then export and review the finished file.
Does Justpushrecord send footage directly into Final Cut Pro?
Justpushrecord delivers recording files through Google Drive. Download the files and import them into Final Cut Pro; this workflow does not require a direct application connection.
Do I need separate camera files for multicam editing?
Yes, separate camera recordings give Final Cut Pro distinct angles to synchronize and switch. If your delivery contains only an assembled video, edit that file directly rather than assuming separate angles are included.
Can Final Cut Pro sync podcast cameras using audio?
Yes, Final Cut Pro supports audio synchronization when creating a multicam clip. The recordings need usable shared audio, and you should verify alignment near the beginning, middle, and end.
Why does my audio change when I switch cameras?
Your camera switch is changing the selected audio angle as well as the video angle. Keep the intended audio source active and use video-only switching for picture edits.
Should I copy media into the library or leave files in place?
Copy media into the library for simpler file management, or leave files in place when you maintain a stable source folder. Leaving files in place requires that folder and its drive to remain accessible.
Can I make social clips from the finished podcast edit?
Yes, duplicate the finished project and trim a complete excerpt. Reframe the shots and check titles for the destination before exporting the clip separately.
One last thing
Fix synchronization before making editorial cuts. A small alignment error becomes harder to diagnose after you have built camera switches, removed pauses, and added graphics. Keep the multicam source organized, and future revisions stay manageable.